Sunday, February 3, 2019

Homemade Craft Table

Welcome back to my blog.

Today I want to walk you through the steps of how I built my new craft table.

First let me tell you why I wanted to build the new table in the first place. Well, I have always had a craft table and my own office. I know I'm one lucky lady. My original tables were bought by my parents back in 2011. They have absolutely served me well and I loved the look of them. Many projects had been created at those tables. So they did hold some sentimental value, but it was time to evaluate their flaws. After some time the longer table started to bow in the middle. Not many people noticed this until I pointed it out, but it bugged me. Also the height of the desks was great for sitting but I am a person who likes to stand when I am putting projects together or while I'm painting. I kept finding myself standing at the kitchen counter because I liked the height better, especially when I had friends over to work on various projects. Last thing that bothered me about my desks was the corner spot. The corner unit comprised of three separate desks which meant there was so many table legs in the corner it was impossible to sit at the corner. When we bought the desks unfortunately the corner table was not a perfect square, it was a rectangle which left a gap in the back of the corner. To hide the empty space I bought a paper holder and tool holder to cover the hole. All in all I needed a new functional desk and it was time. Here are my original desks.


Step one was to decide on the design and measurements. I knew I wanted to keep the L shape and the tables needed to be counter height. I also wanted them to be a little long as well for more working space. Putting my computer in the corner is also important so there must be space for my legs to sit at the corner while I use the computer. After measuring I decide I wanted the desks to be 8ft x 8ft and at least 3ft tall,

After looking at multiple designs on Pinterest and online I decided the legs should be cube organizers. I already had one, as you can see in the picture above and it was the perfect height.
Not only did this solve my height issue, but it also solved my storage issue. Plus this meant I didn't have to build the legs, only the table top.

Here are my plans and measurements. These were not the original measurements, I thought they would be a square 8x8 but after cuts and sanding these are the exact measurements.

After I figured out my measurements and design, next was to figure out budget and supplies to purchase. The herringbone pattern at the corner was going to be a challenge but I was excited to test myself. 

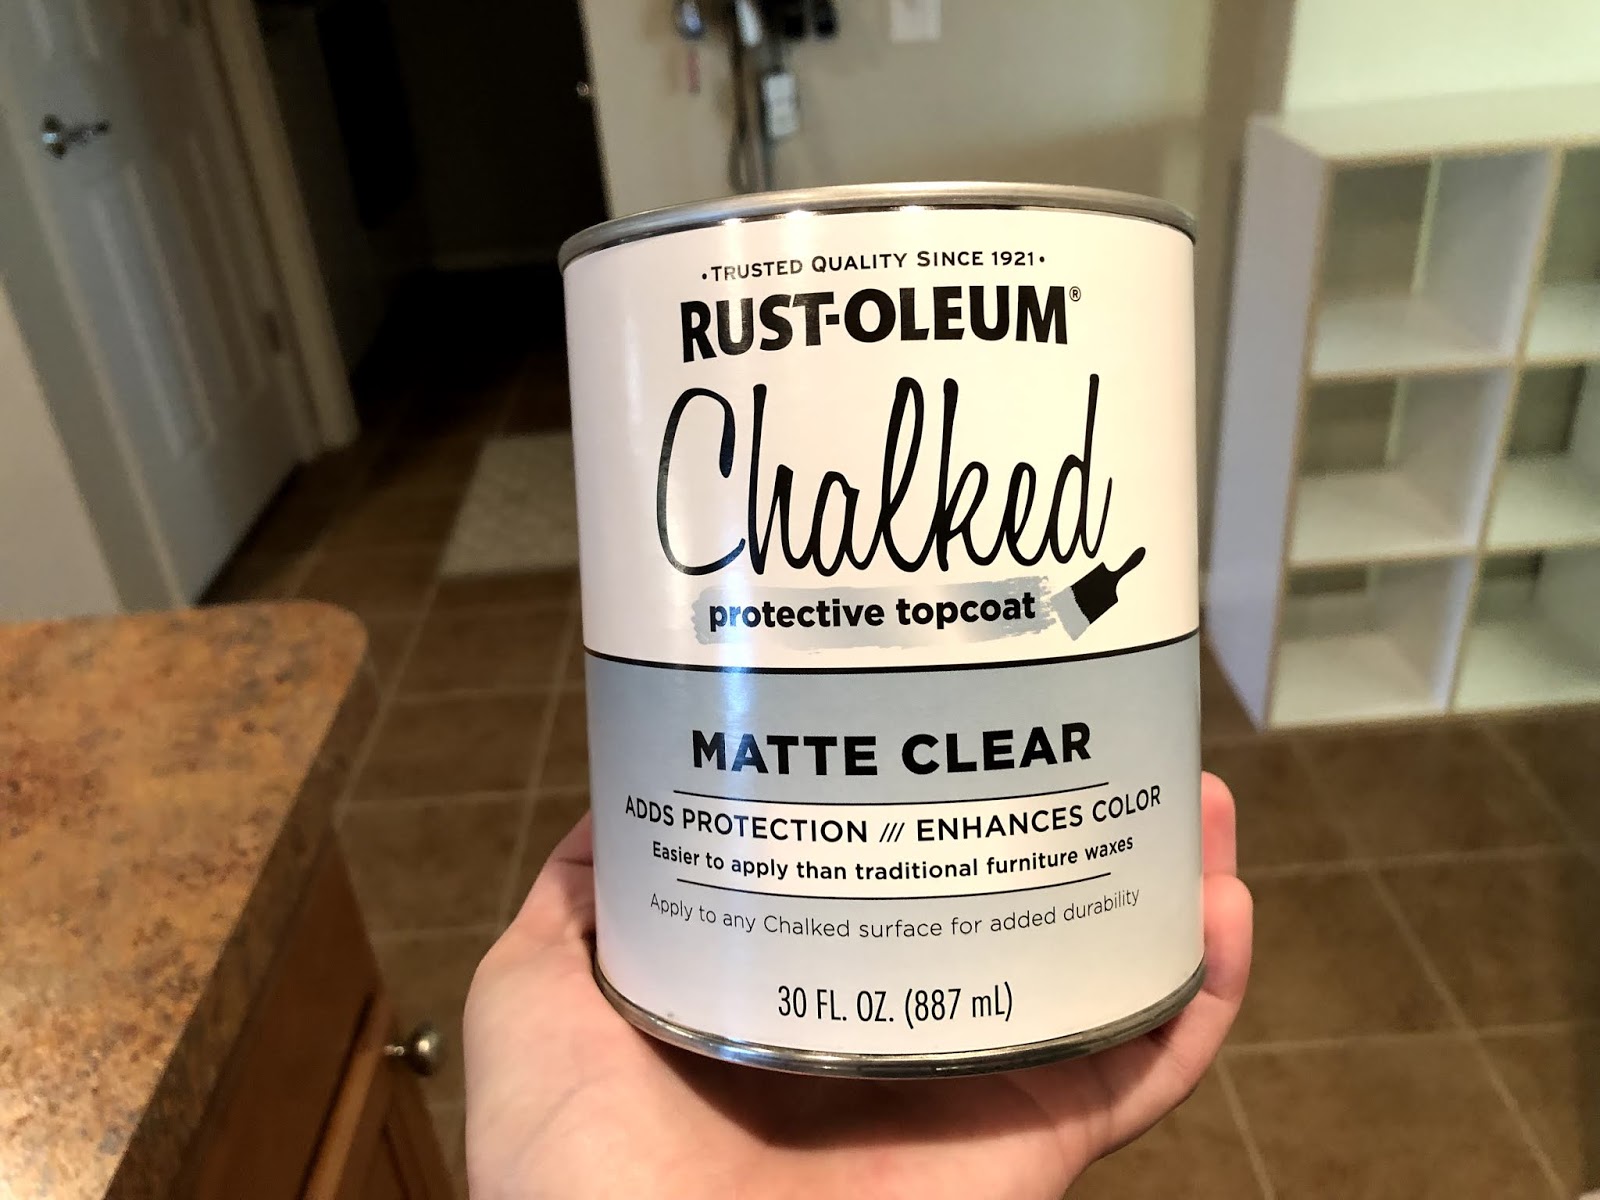
Here is a list of tools and supplies needed needed:
Power Drill
1/8 drill bit
2" Screws
Wood glue 
Miter Saw
Biscuit Joiner and #0 biscuits
Electric Sander
60,120, and 320 grit sandpaper
Rust-oleum White Linen White Chalk Paint
Rust-oleum Mate Clear Sealer
Paint brush
MINWAX Provincial 211 Stain
MINWAX Stainable wood filler
Staining Sponges
Saw Horses
Clamps
WATCO Wipe on Poly

4 - Mainstays 6 Cube Organizer
14 - 4x1 8ft long boards (stained table top boards)
2 - 3x1 8ft long boards (white boarder boards)
3 - 3x1 6ft long boards (white boarder boards)
5 - 2x2 8ft long boards (underneath support boards)

First I laid everything out to make sure my ideas were aligning with reality and I had all of the materials. 

Everything was looking good and I was ready to start cutting the boards to length. I didn't have a set plan on size but I knew I wanted to do the herringbone pattern so I needed to cut the boards consistently back and forth. I basically alternated sides cutting 4 inches off with the miter saw until I reach my desire width of each side of the table top. 


Next step was to mark on the top of the boards where I wanted the biscuits to be placed. Here I'm placing a line every five inches. Then I placed a circle where the two boards will be joined with a biscuit. I alternated the pattern to give the table top more overall strength. 


This was my first time using a biscuit joiner tool. It was very easy to use. All you had to do was adjust the hight and angle of the drill. Line up the center line of the drill with the center line marked on the wood. Clamp or hold the board tight. Get the drill up to speed and the push the mechanism forward. It cut a slot into the wood where the biscuit will sit. 


Once all the cuts were made on the boards it was time to join them together with the biscuits and wood glue. First I dry fit the biscuits to make sure it was going to go smooth. I then placed wood glue along the boards where the two were going to join. Adding dabs inside the biscuit slots. I then placed the biscuits and gently tapped them into place with a rubber mallet. I then topped them off with a dab of wood glue and then joined the two boards together. I found using a clamp to push them together really helped. After I joined all the boards I placed the clamps and let the table top dry for 24 hours. I repeated this for each side of the desk.


After both side dried, the next step was to build and attach the support boards. These are the 2x2's.
I laid out the board on the floor and used the miter saw to cut the 2x2 boards to length. I did a frame all around and then added boards to go across in the middle for more support. I used wood glue and attached them with the 2 inch screws. 


At this point I was getting very excited seeing the table tops come together. I did have some small gaps in between the boards. This may  not bother some people. It did give the tables a bit of a rustic look but this being a craft table and the possibility of using small supplies on desk, I wanted to fill the gaps. I next used the MINWAX wood filler and with my finger rubbed it into all of the gaps.


After the wood filler completely dried it was time to sand it smooth. I forgot to take a picture of me sanding and of the tabletop before staining, but I was very impressed with the wood filler and how it completely filled all the gaps and sanded smooth. I used the full pack of the 60 git sandpaper and used a few sheets of the 120 git paper.

Next I stained both table tops with the MINWAX Provincial 211 Stain. I applied the stain with an old wash rag and did one coat. I didn't want the stain any darker than how the first coat looked.


After the stain dried of a minimum of 8 hours I began the wipe on poly process. I used WATCO Wipe on Poly. This product was very easy to use. I used a staining sponge to apply it. I applied the first coat and allowed it to dry for 4 hour. Applied the second coat and allowed it to dry another 4 hours. Next I lightly sanded the table top with 320 grit sandpaper. 


After I lightly sanding I wiped down the table top with a damp rag to remove any dust and debris.
Once they were cleaned and dry I applied the final coat of the Wipe on Ploy and allowed them to dry overnight.


Once the table tops were dry the next step was to cut, sand, and paint the white boarder boards. This is where I ran into some trouble and I had some learning curves. Let me tell you that I should have done this step different. I should have attached these boards, wood filled, sanded, and then stained, and finally tapped off the parts that were to be white. My inexperience showed at this point but it was a good learning opportunity for me. The main issue I was having was the white boards were not sitting flush against the side of the table top. Being a bit of a perfectionist this made me crazy and forced be to sand some of the sides down to help it sit more flush against the sides. I did this instead of starting over completely.


I first cut all of the boards to size with a 45 degree angle at the front corner. Then I sanded, painted, and sealed them.
My sweet husband helped me with this part.

Next step is the final assembly. I was jumping out of my pants excited to see it all put together!

Let me tell you another learning curve I came across. Being a military family there is a 100% chance we will be moving again in the near future. My original idea and plan was to biscuit join and permanently put together the two table tops at the herringbone corner. I even cut all of the slots for the biscuits. Then my husband made a good point about how we were going to get the whole thing into the house once it was put together. This thought then led me to the thought about moving it to another state or country in the future. So I decided to not permanently join the two pieces together at the corner. Instead I joined them with three metal brackets on the underside.

To attach the white perimeter boards all around the desk I used wood glue and the 2" screws coming from underneath and pointing out. 


I used the clamps to hold the boards on due to not having an extra hand that day. I first placed the wood glue, drilled the pilot holes with the 1/8 drill bit and then placed the 2" screw.


This is the view from underneath, showing the desk is sitting on the support wood on top of the cube organizer.

The cube organizers will be pushed together underneath. So the support boards will be sitting on the cubes from the back side of the table top as well as the cross supports. The three brackets were plenty of support. As I lean on the top of the desk they do not budge at all. 

Here it is the final product. Thank you for following my journey. I hope this helps you assemble a craft desk for yourself or give you some ideas to customize you own design. 


I hope you enjoyed my build. 


Saturday, February 2, 2019

About ME.

Hi there and welcome to my blog.

I'm so glad you are here and my hopes are you find some inspiration and ideas from my projects. I know it takes time, ideas, plans, and most of all money to decorate or organize a home into a functional and comfortable living space. I hope I can show other's how to save money by creating things themselves or give advice on how to arrange or decorate a space to make it as functional as possible. I'm not a trained expert, but I want to share things that help us and our household.

A little bit about myself, my name is Jessica Petramala I was born and raised in Thornton, Colorado and will always be a Colorado girl at heart. I am a proud boy mom to my son Carson. He is my world and every day is a new adventure with him. He surprises me everyday with his learning and keeps me on my toes. I am also a very proud Air Force wife. My husband has been in the military for 9 years and is planning to continue onto retirement one day. I have many interests and hobbies. I enjoy doing different crafts using my Cricut. I enjoy crochet (especially small quick projects). I love decorating and thinking of new ideas to make our home more functional everyday. I love to exercise and be active. Every day I am getting out and doing something. I would say I keep a very active lifestyle physically and crafting gives me the mental satisfaction I crave every day.


I feel like my creativity has really blossomed over the last three years. Through different life experiences, I have grown as a person in many different directions, but I feel as though my core beliefs and values have become the strongest they have ever been. My many life experiences have come from being pushed way out of my comfort zone and when I had to either sink or swim. Those pushes have absolutely come from being a military wife and new mom with no family nearby to help.

Let's take it back some years to give you the full perspective. My husband and I first started dating in 2008 and became engaged in 2010. That is also the year my husband joined the Air Force. After highs and lows with various jobs in 2008 and 2009, the USAF was the best career path he could have decided to go on. To say I am proud of him is really an understatement. He had absolutely blown me away with how well he provides for our family. I am humbled to be on this AF journey with him. He has grown into an amazing well-rounded man. He is focused on work but as soon as he is home he is my husband and Carson's Daddy.

Our Air Force journey first began in 2010 after he graduated from Basic Military Training at Lackland AFB. His technical training was at Kessler AFB in Mississippi. We were set to be there for 10 months and I wanted to make the best of it. This was the first time we had lived together in our cute little two bedroom apartment. I was determined to make it our home. We were married legally but decided to wait and have our wedding back in Colorado after his Tech School training. So with a limited budget and not much to call our own, I did my best to make that apartment ours. I didn't work at the time because we were going to be there for such a short period, so I deemed myself the homemaker/housewife and kept that apartment spotless. Some may have called me OCD or crazy, but I was extremely prideful. That apartment is where I learned to grow up. I learned to cook, take care of adult duties like laundry, cleaning, dishes. We brought home a puppy and she taught me even more. The apartment was small and we really didn't have much at the time.


Our next stop on our Air Force journey would bring us back to Colorado. Peterson AFB in Colorado Springs, Colorado. This is where we purchased our first home and where we would spend the next 5 years. We bought a perfect starter home. Clean, basic, and move in ready. It was very much a cookie cutter home but I loved it and I was ready to make it our own.


These pictures are from when we first moved in. Again with a limited budget and our lack of wanting to do anything but neutral colors we made that house a fantastic home. We were so scared about resale one day we only did a few projects with paint. After our wedding, we had much more decor and furniture to work with so that was nice but I decorated the best I could with what we had.


We did paint the kitchen and install a tile backsplash. 

At this time I did consider my self very crafty. I was scrapbooking and using my first small Cricut. This is about the time I learned how to sew as well. Pinterest just started to become popular, so I was gaining ideas for hobbies to try. I tried my hand at a few wine bottle crafts (many bottles of wine were drank to do those :)), a few crochet projects. A few scarfs, some baby hats, and a couple of blankets. That's when others started to take notice that I was getting pretty good at making baby hats. Though I wasn't convinced I was good enough to sell them. There were that OCD tendencies and self-doubt again? Perfectionist?that's me! I wasn't brave enough to jump into Etsy or any type of business. At that time we were newly wedded and off doing things with friends. I didn't have time to take orders and sit on the couch crocheting all the time. So about four years went by. I was working as a Dental Assistant and going to school. My husband was doing phenomenal in his career. Ranking up, awards, learning so much. I couldn't have been more proud. We were having so much fun with friends and going out to eat. Then life changed when I got pregnant.


We were overjoyed. After trying for almost a year, emotions were running high and finally! We were going to be parents!!! I had so many ideas about nursery decor running through my mind. Pinterest boards overload. I had a great pregnancy, no sickness, some cramping here and there if I slacked on my water intake. I was doing good, working away and waiting for our little man to make his arrival. The nursery was so important to me, I was determined to make his room the best room in the house. We started with the theme of Monkeys and it all took off from there. We painted the walls light blue. I bought wooden letters for his name and painted them green. I made him a pap
er mobile to hang above the rocking chair. I made another monkey mobile to hang above his changing table. He was going to have a lot to look at. We also purchased vinyl stickers of a palm tree and swinging vine monkeys to go above his crib. (I didn't have my fancy new Cricut at that time, otherwise I would have cut them out myself.) His room was perfect. My husband even built him a stuffed animal zoo.


Our son Carson made his arrive mid-October 2015 and wow I had no clue what love was until I saw that child. He filled every void of my heart and soul that I didn't know was empty. There is nothing in the world like hearing and seeing your baby for the first time. After my maternity leave was up I went back to work for about a month and realized I needed and wanted to be home with him. The moon and the stars aligned too cause the month after I quit my job my husband told me something that would alter my life forever.

WE WERE MOVING TO BELGIUM. You can see my reaction and how he told me here.


As you could see I knew the 27th was a very special day because. February 27, 2008, we officially started dating. February 27, 2010, we got engaged. February 27, 2015, I found out I was pregnant. And now February 27, 2016, I was told we were moving to Europe. For whatever reason this date has magic.

So we were set to move to Belgium July 21, 2016. Which meant we had four months to prep and sell our house in Colorado Springs. We also had to declutter, downsize the amount of stuff we accumulated over that past 5 years, and mentally prepare for what was about to happen. Air Force family lifestyle to the max. Oh yeah, and we were new freaked out parents all on top of that.


Fast forward to July. We sold our home in a blink of an eye, were packed, and living in a hotel a 2 weeks before we left and over a month when we arrived in Belgium. I will write more about European experiences in the future. I'm not going to go into too much detail in this post. I mainly want to talk about our house hunting and our quaint Belgium home.

Needless to say, we lived on a potato farm in the farm country of Belgium. Just let that sink in for a minute if you are a born and raised convenience loving American. It was a lifestyle change for sure. Lots to learn about this new country and lots to do to make this wee little home ours.


It sure is beautiful though, right?


With living in a smaller house I had to decide what to put out or what to put in storage. I would say we did very well with simplifying our living. Living out of suitcases for months on end really put into perspective what thing you need and what things you don't. I found myself getting rid of a lot of junk and decluttering even more than what I did before the move. I am a sentimental person and there are things that I hold on to. But let's be real, you can not hold onto everything little thing. And my thought was "I can't be hauling junk all around the world, just get rid of it." An interesting fact about Europe is the people are charged extra taxes if they have closets in their homes. For this reason everyone uses wardrobes. Our house was extra special because we had a coat closet and pantry downstairs, plus a storage room upstairs. We lucked out! Another fun fact is the walls were concrete to hold heat/cold in. Each room had its own radiator to heat the room. The radiator had water running through it, which the water was heated by burning oil. Each room also had a door so you only had to heat what you needed to. Old system but not as wasteful. Our house was built in 1984 and our landlords, the potato farmers, only spoke a little bit of English which made things a bit difficult. All in all they were lovely people and I LOVED that cute little house. It really made the experience of living in Belgium that much more unique. We lived in Thieusies, Soignies, Belgium.


I am glad we were able to find a home that showed the true Belgian character. This home was cute and had everything we needed. The views of farmland out every window were breathtaking. Our landlords harvested potatoes, sugar beets, green beans, and wheat while we lived there.


It was not large and luxurious, but it was adorable. This is the kitchen. It had a European refrigerator (which didn't have a freezer) hidden within the cabinets, with a laundry room off to the right equipped with wash and dryer (this is also not a European thing) hookups as well as room for an American sized refrigerator (which had our freezer). Also off to the right was my rare pantry. Such a spoiled American girl.


We were so excited about the wood burning fireplace. We could just see us making memories here and watching Carson grow. My mind was spinning with ideas on how to decorate it.


These are the stairs and yes they are a bit scary at the top. They were steep and made a sharp turn at the top, which made we nervous while holding Carson until I got more used to them. Carson wasn't allowed on the stairs. We were lucky that our landlords installed the carpeting. A lot of our friend's stairs did not have carpet which made for some stories about falling.


This is the master bath. Super spacious and luxurious. I.m totally kidding. This isn't the best picture, but the shower was tiny! I can't count how many times we smacked our elbows in that shower or how many times I hit my had on the ceiling while brushing my hair. Although it was small, we did love the window in there. Pulling down it completely opened.


The back of the house did have a garage but the opener broke and our landlords seemed to have forgotten to fix it the whole time we lived there. All was good though, neither of our cars fit in there so it was extra storage space.

We lived in this house for about a year and a half. There were challenges but also a ton of memories made. We will never forget our time spent in this house and the experiences that shaped us into who we are. Here are some pictures of the home while we were living there.


Across the street from us was a dairy farm that produces butter. Every day we walked down the street to see the cow. Carson absolutely loved them.


Here I am sitting on a huge pile of sugar beets. They were massive and everywhere.


This was Carson's bathroom because it was the only bathroom with the tub. Yes, that is a bidet. No, it was not used.


 I am going to wrap it up about the Belgium house. I could talk about it forever.

After our Belgium adventures were over the Air Force then and now has sent us to San Antonio, Texas. Here we have again purchased our home. Which by the way we did while still living in Belgium. Online shopping for a house is pretty nerve-racking. I wouldn't suggest doing this, but if you need to like we did, make sure you have a great realtor!


We closed and moved into our home on Halloween 2017. Another date to remember. We love this home so much. Knowing all of the things we didn't know when we bought our first home in Colorado Springs made buying this home a bit easier because we were now experienced homeowners and we knew exactly what we wanted. This home checked every single one of our must-have boxes. It was perfect.


Also homeownership felt a bit different this time around as well. I knew I wanted to be more risky with my decorating. I wanted to not just decorate in neutrals but I wanted to be bold and have fun with this house. Which as soon as we moved and got somewhat settled I started painting. My office and Carson's room. Which you can watch here.


These are the two biggest projects we have done to the house so far. We have lots more in mind and I can't wait to share as they happen. For now, that is a long enough blog. I hope that gives you a good insight to who I am. Thanks for reading.

Happy Homemaking <3